
Work Through The Porcelain Process
Follow porcelain from a prepared clay body to formed greenware, controlled drying, surface refinement, glaze tests, and basic firing stages. Each area focuses on decisions that affect shape, joins, shrinkage, and the finished surface.
Prepare The Clay
Practice wedging, compression, and moisture checks before forming.
Control The Form
Shape simple pieces while comparing wall thickness and edge stability.
Manage The Drying
Observe shrinkage and keep thin rims from racing ahead of thicker bases.
Test The Surface
Use test tiles to compare slips, underglazes, and glaze coats.
PRACTICE FOCUS
Notice What Changes The Result
Porcelain responds quickly to moisture, pressure, thickness, and drying speed. Small controlled tests make it easier to connect each choice with warping, cracking, surface quality, or a cleaner finished form.
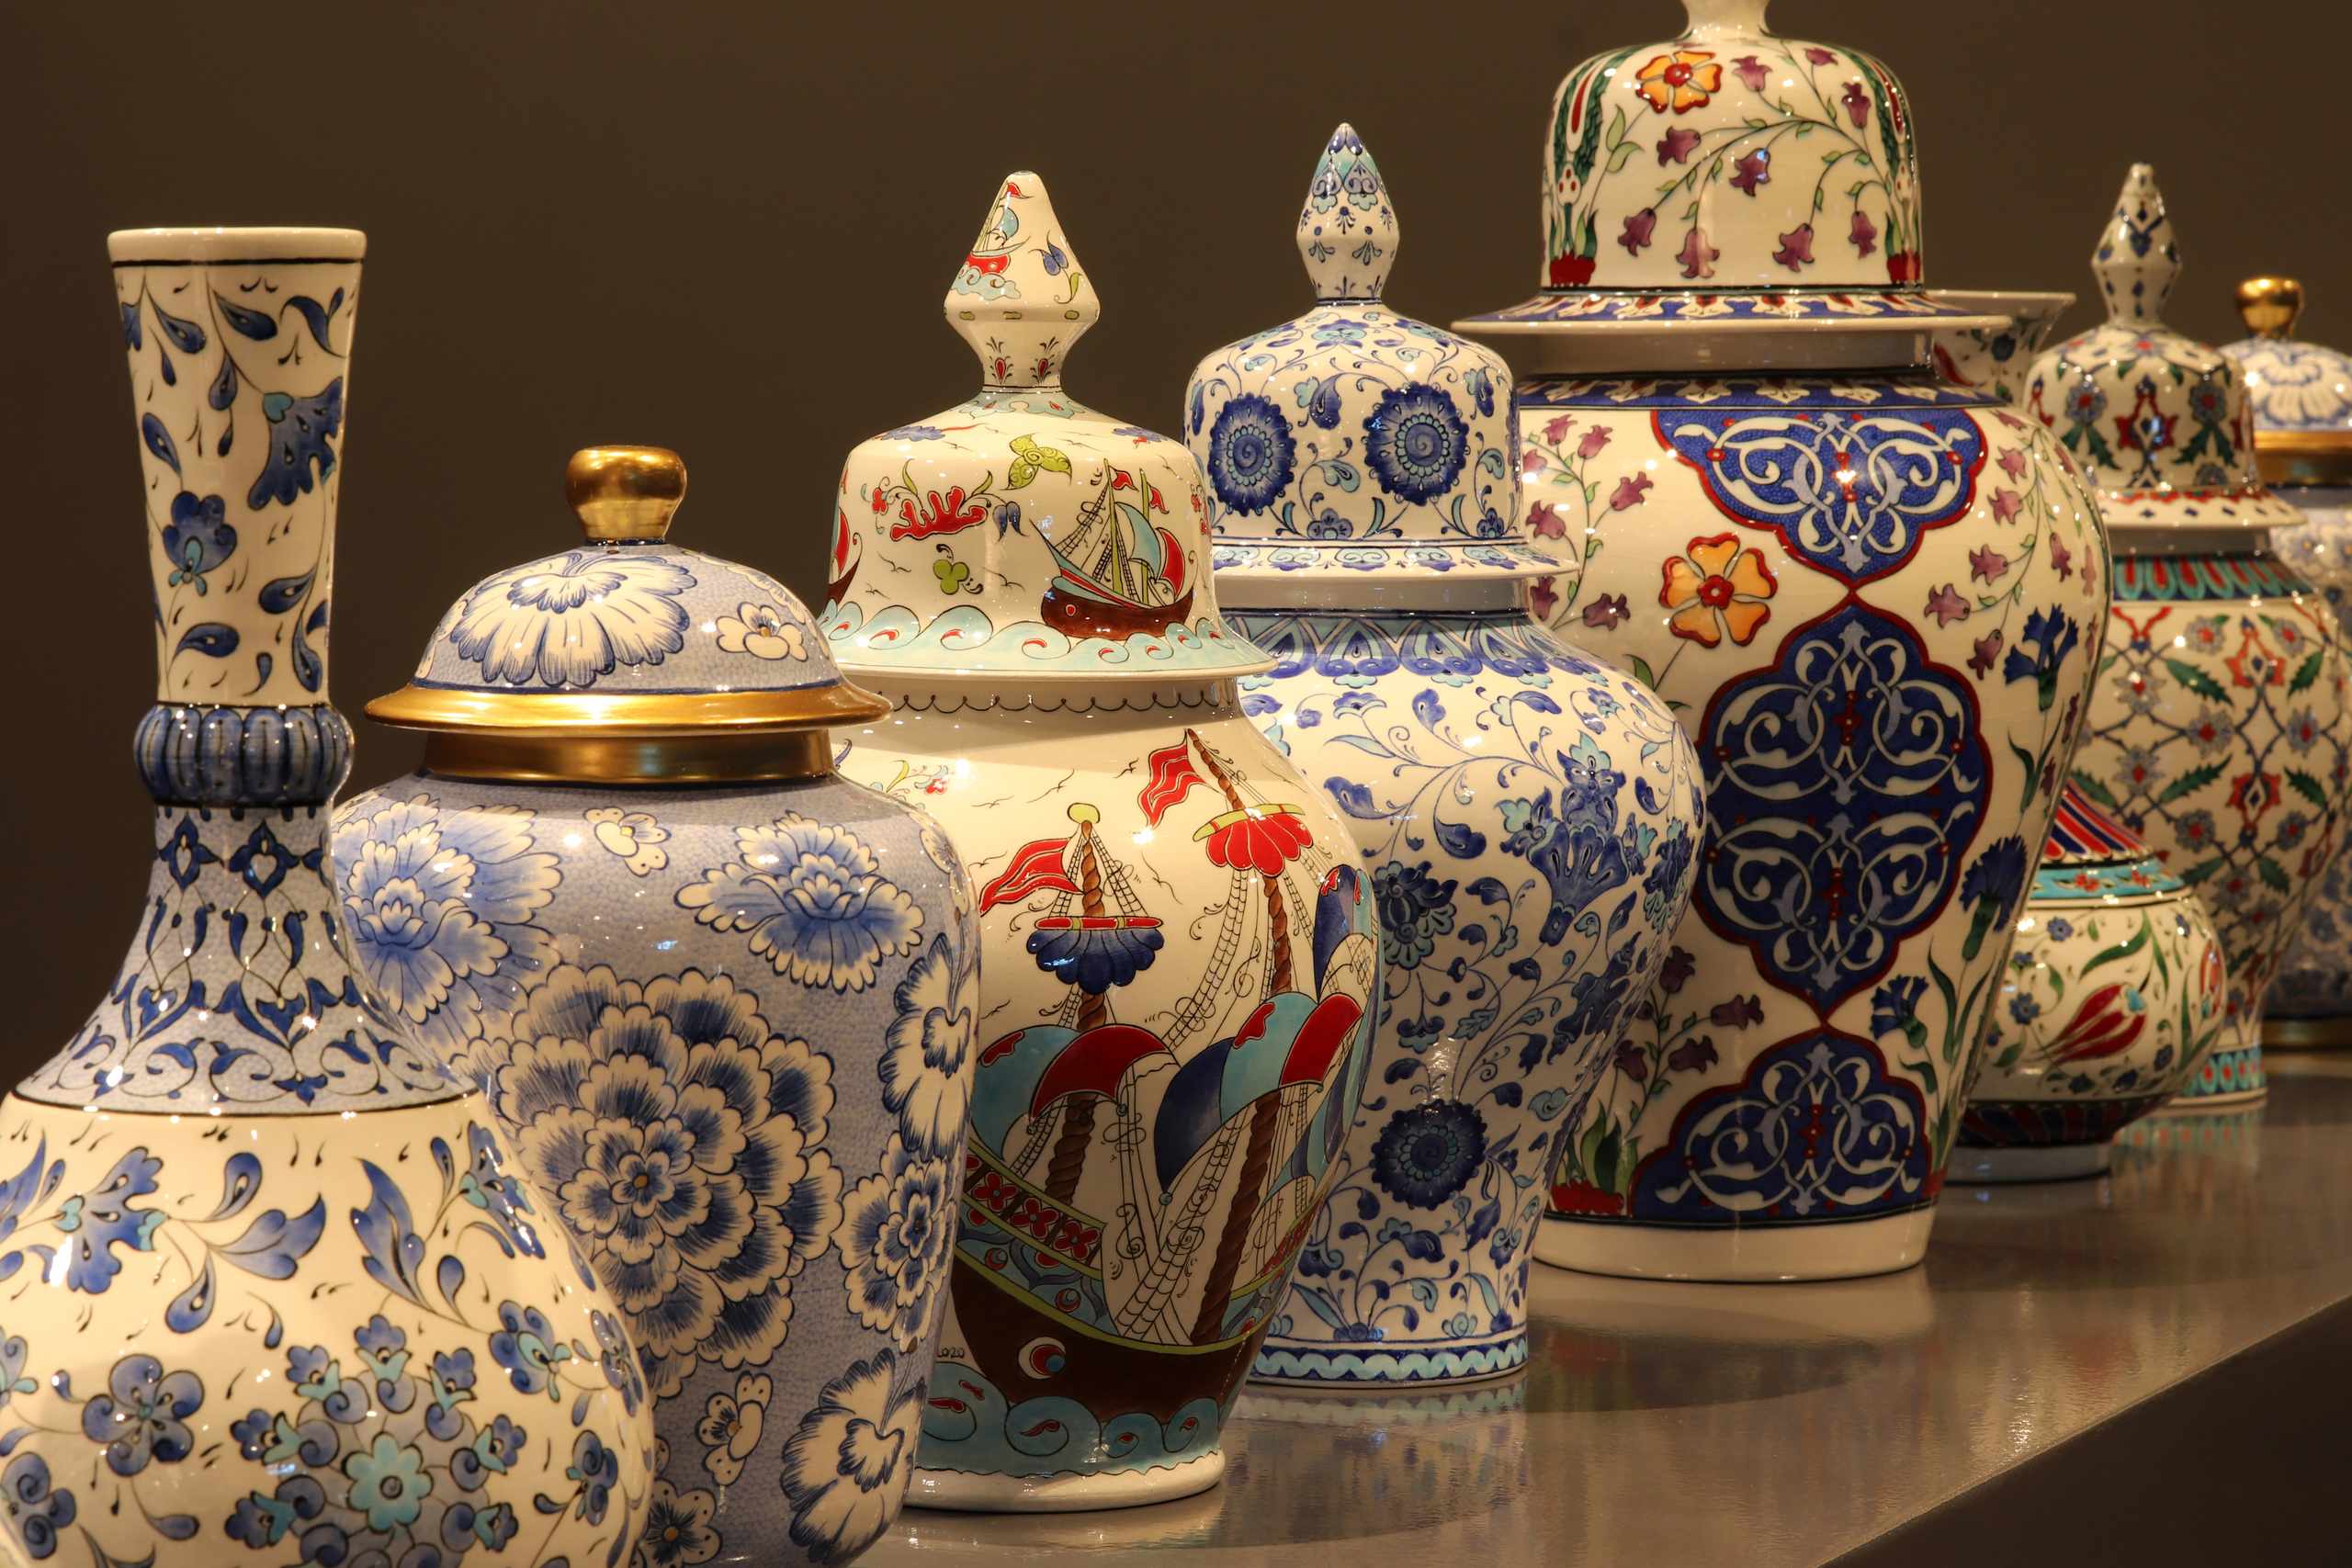
FORMING CHECK
Compare Wall Thickness
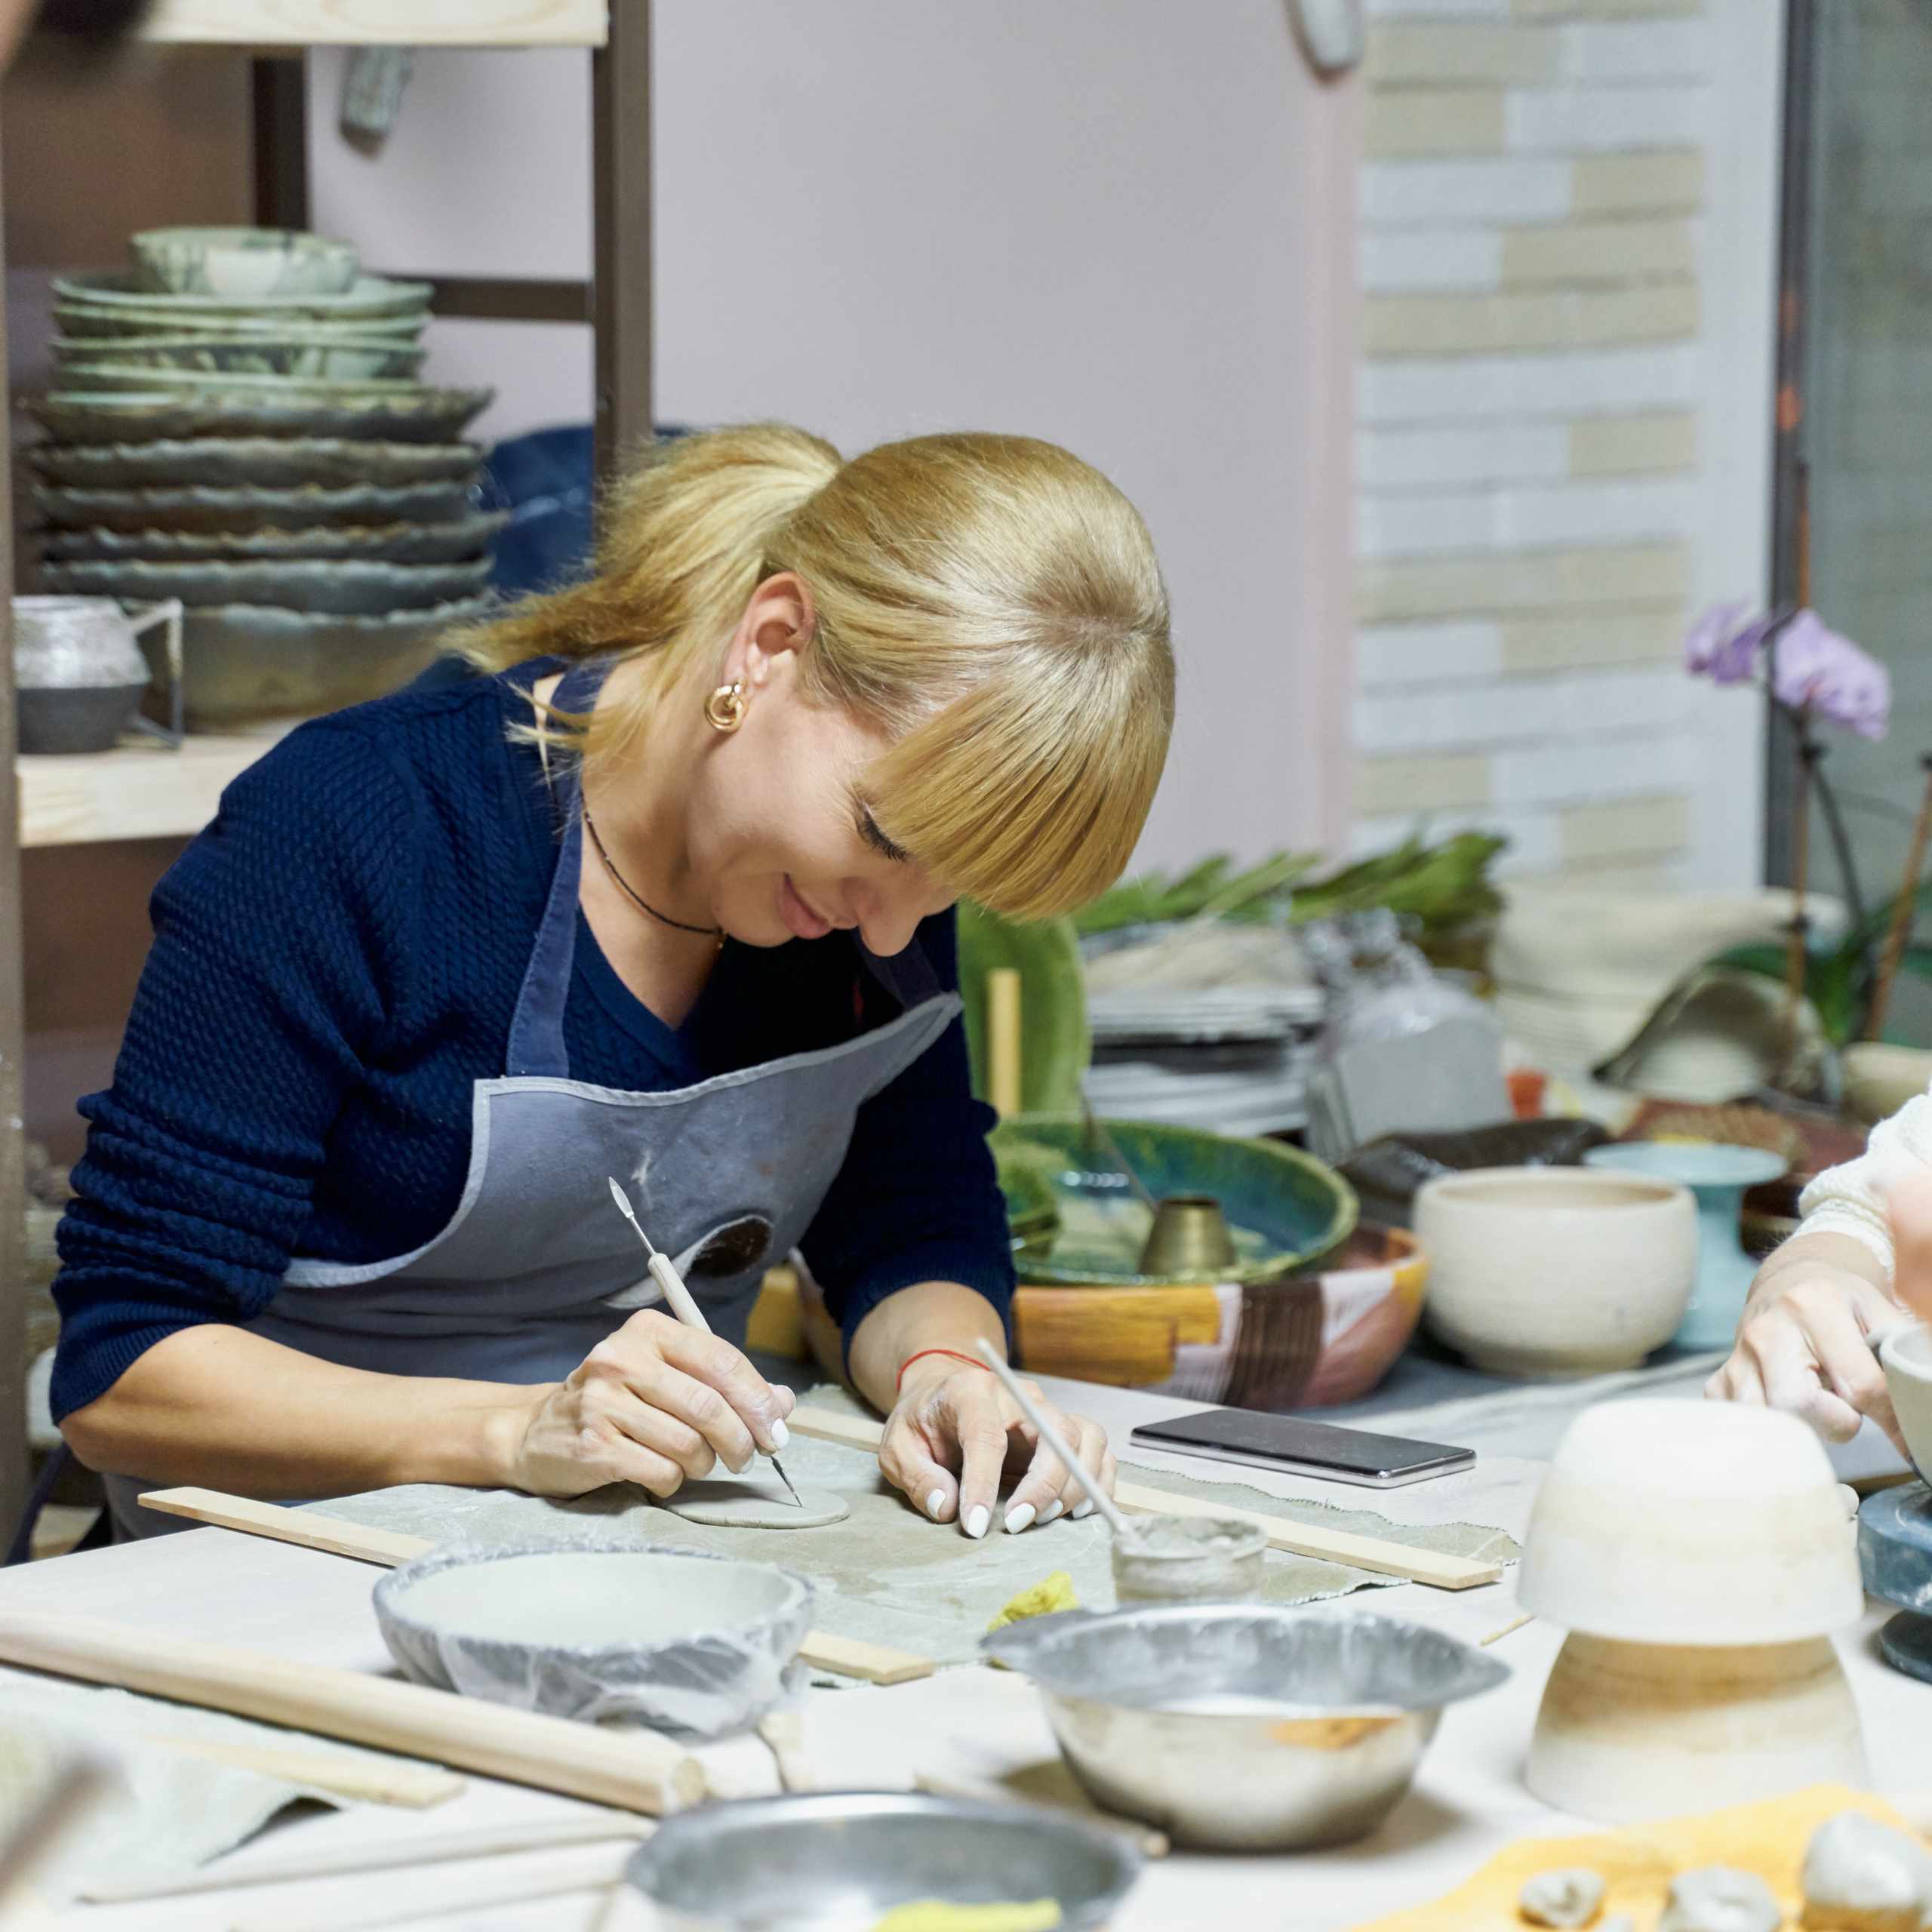
DRYING CHECK
Watch Rim And Base Shrinkage
Build Skills Stage By Stage
Clay Preparation
Form And Dry
Glaze And Inspect
A Test-And-Observe Approach
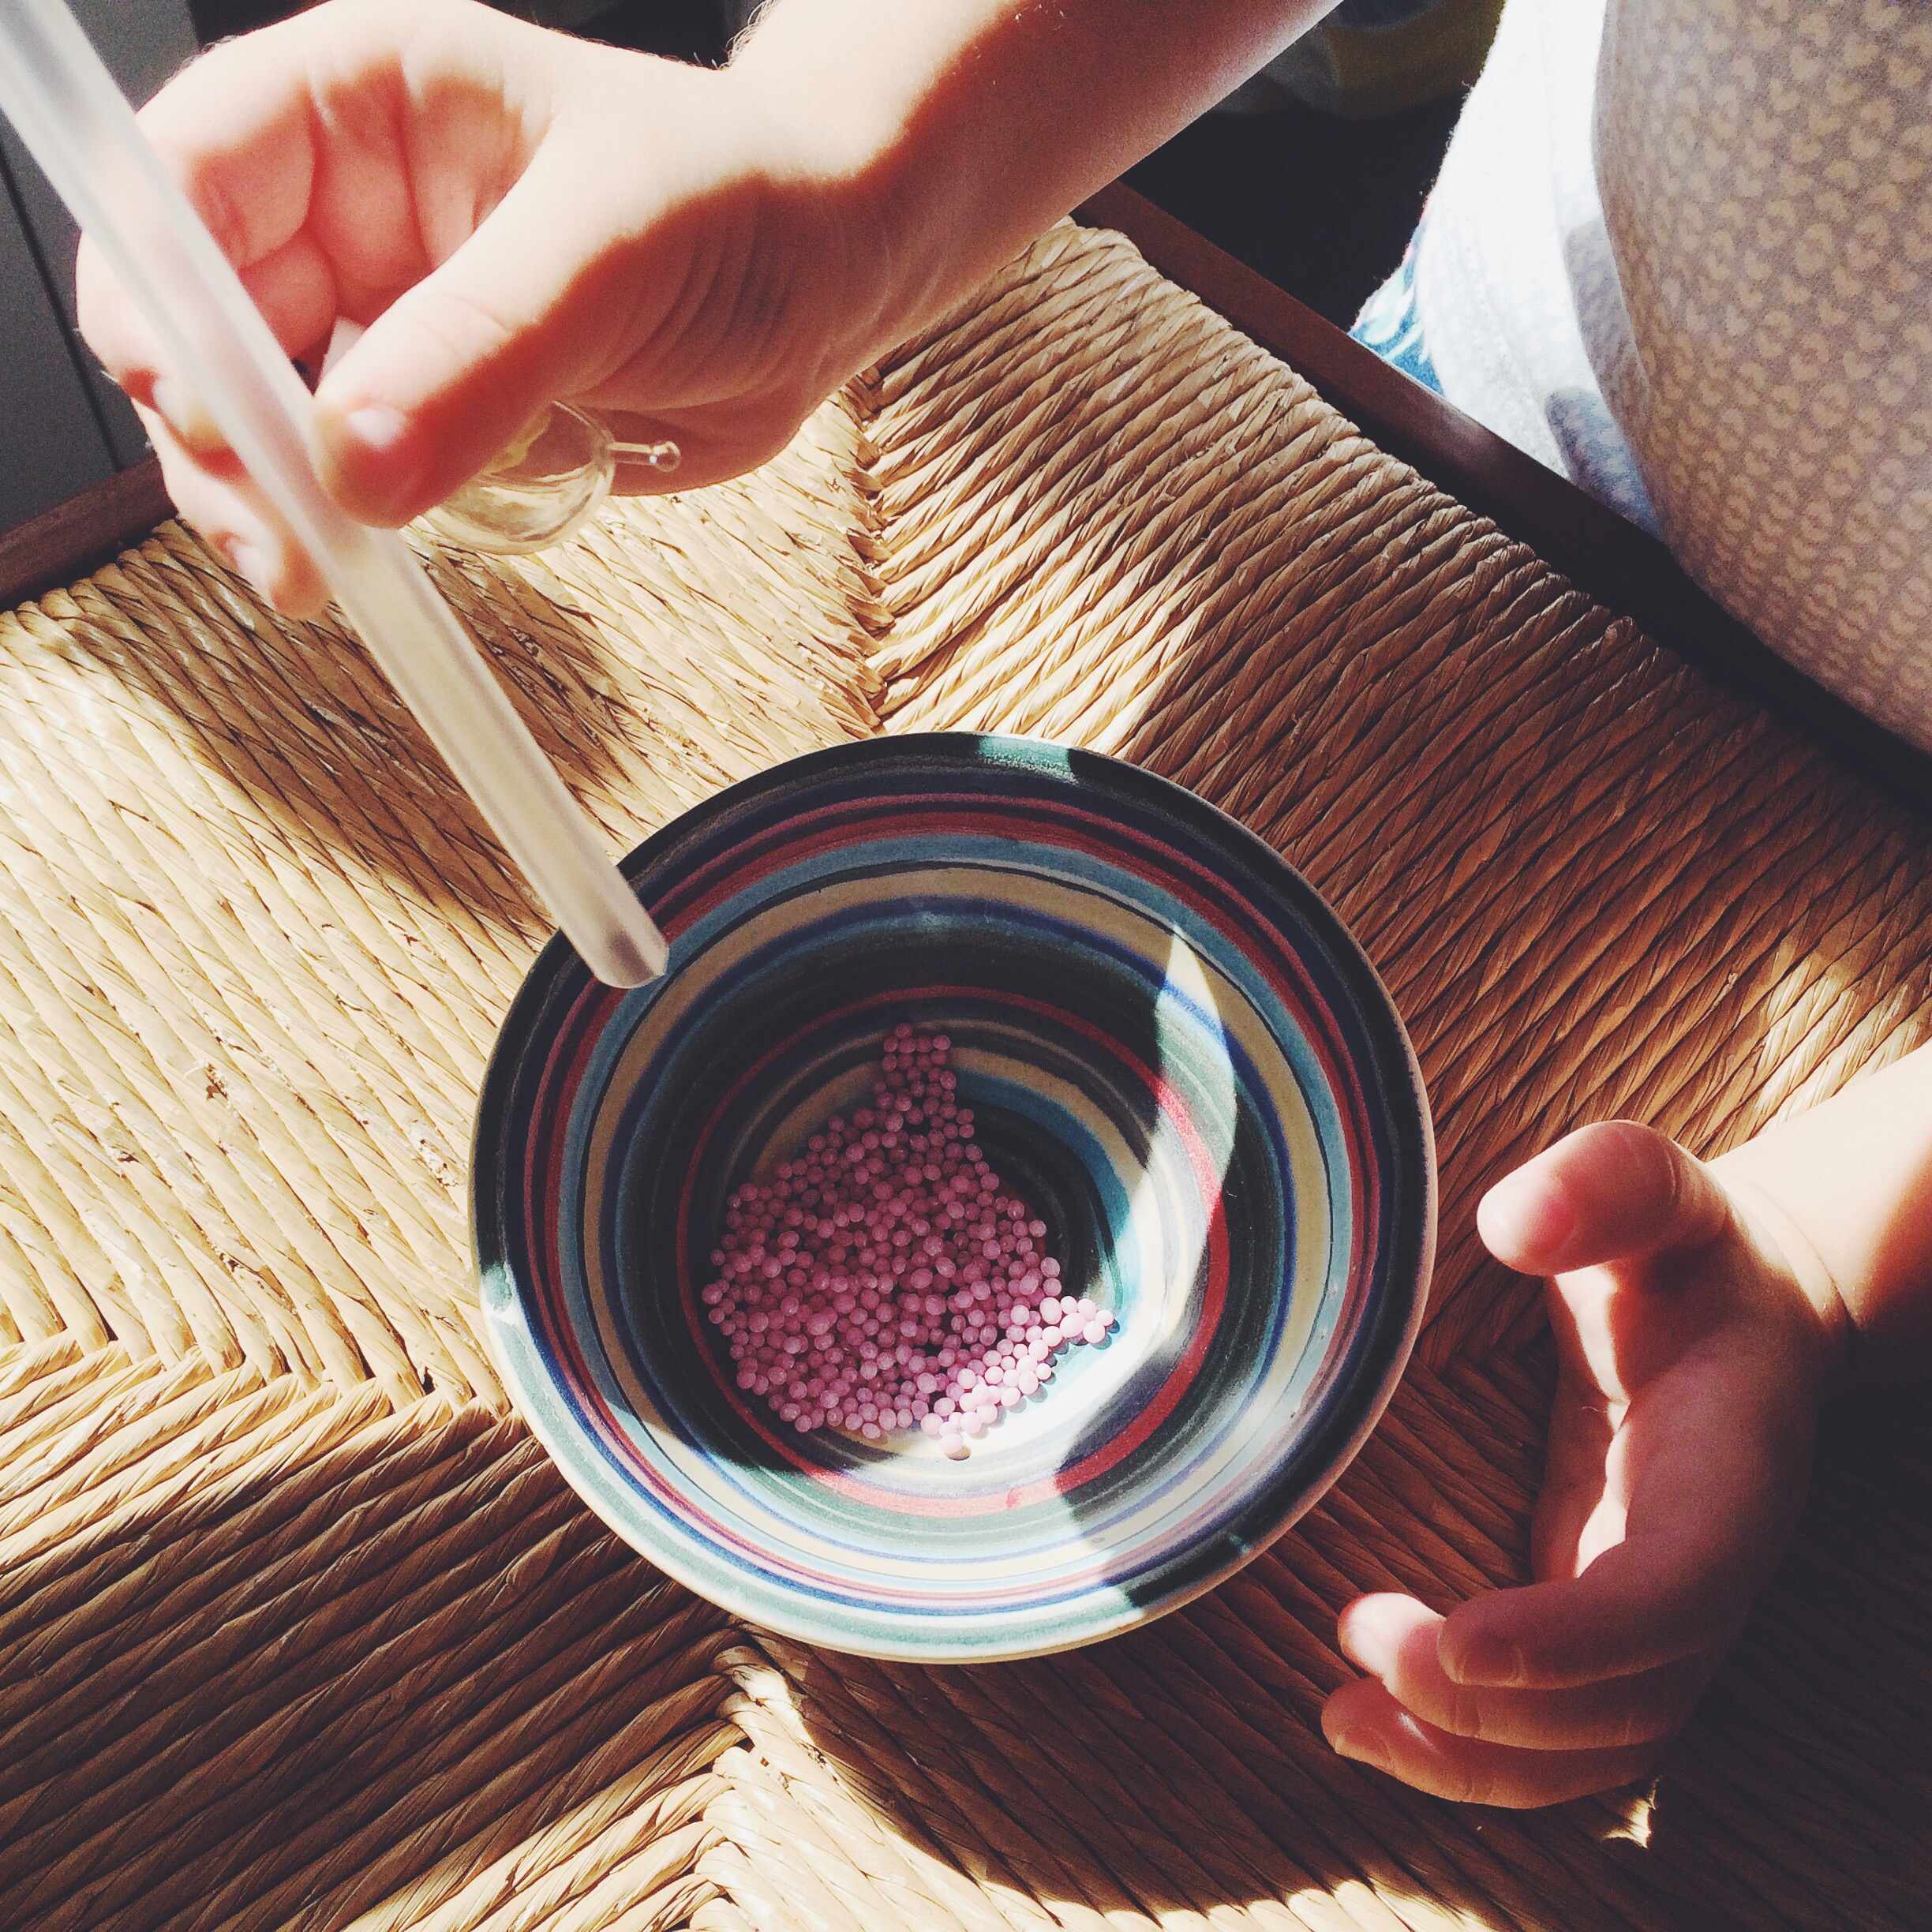
Change One Variable
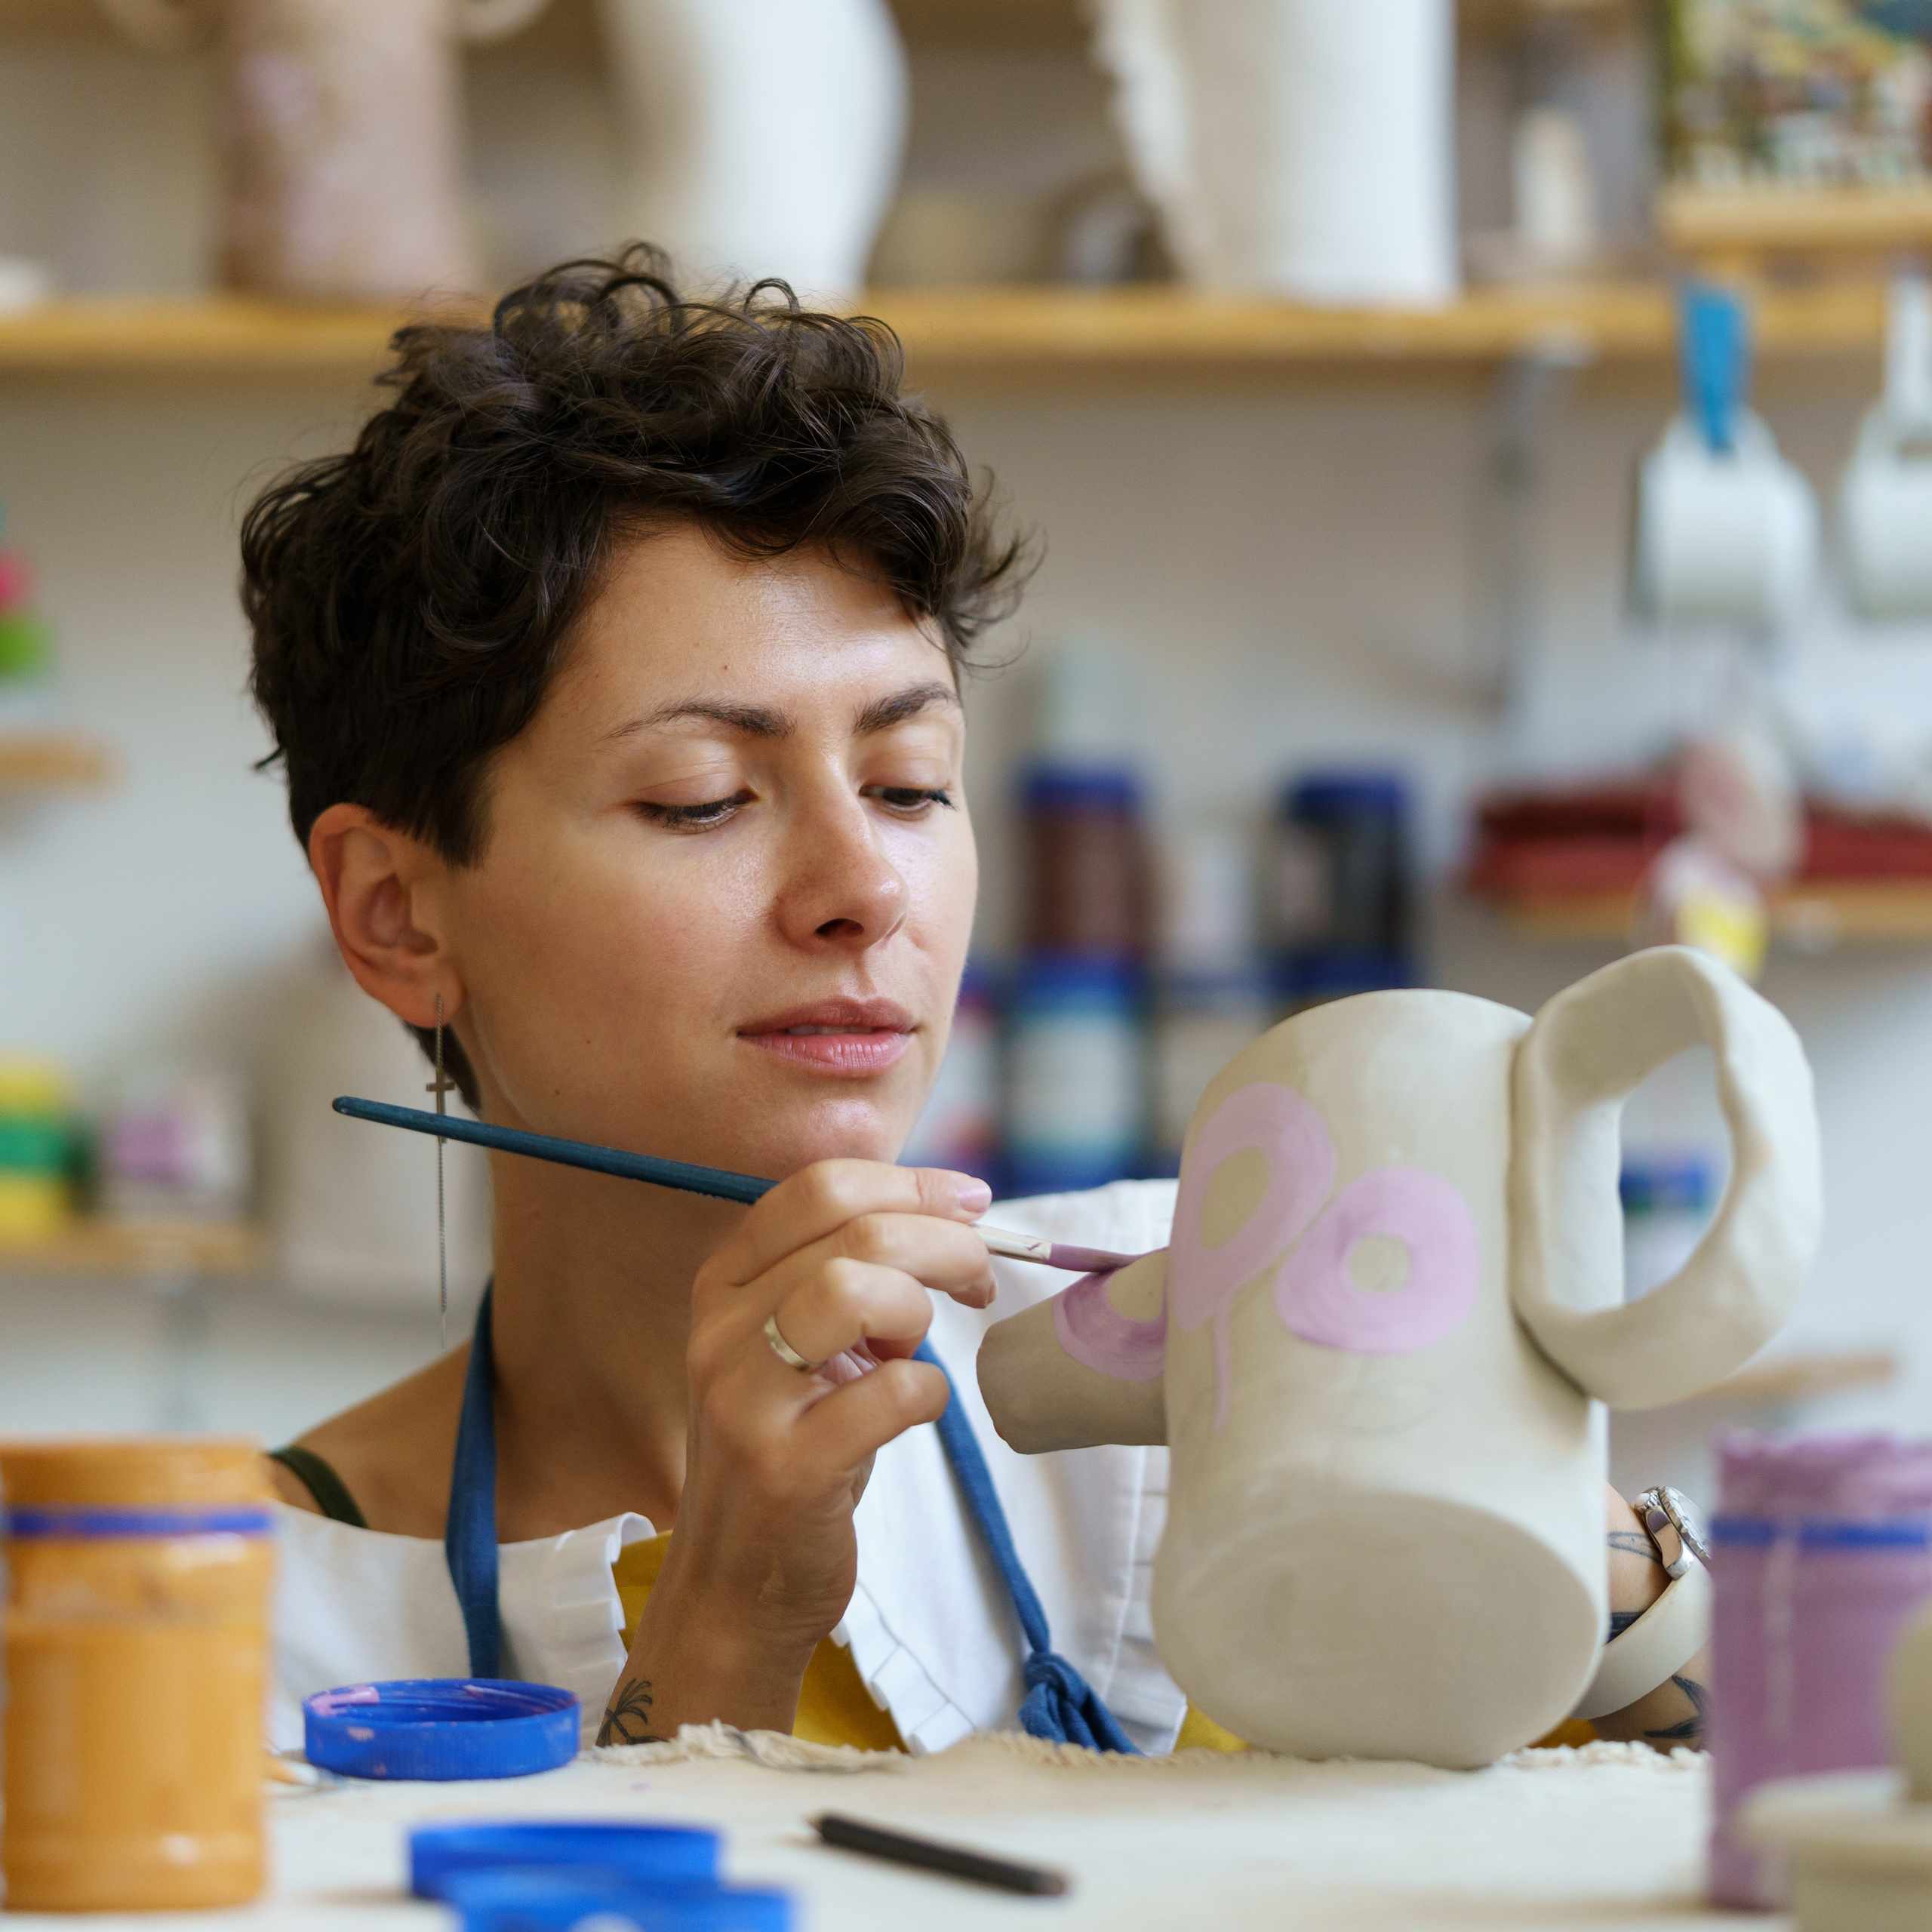
Check The Surface Change
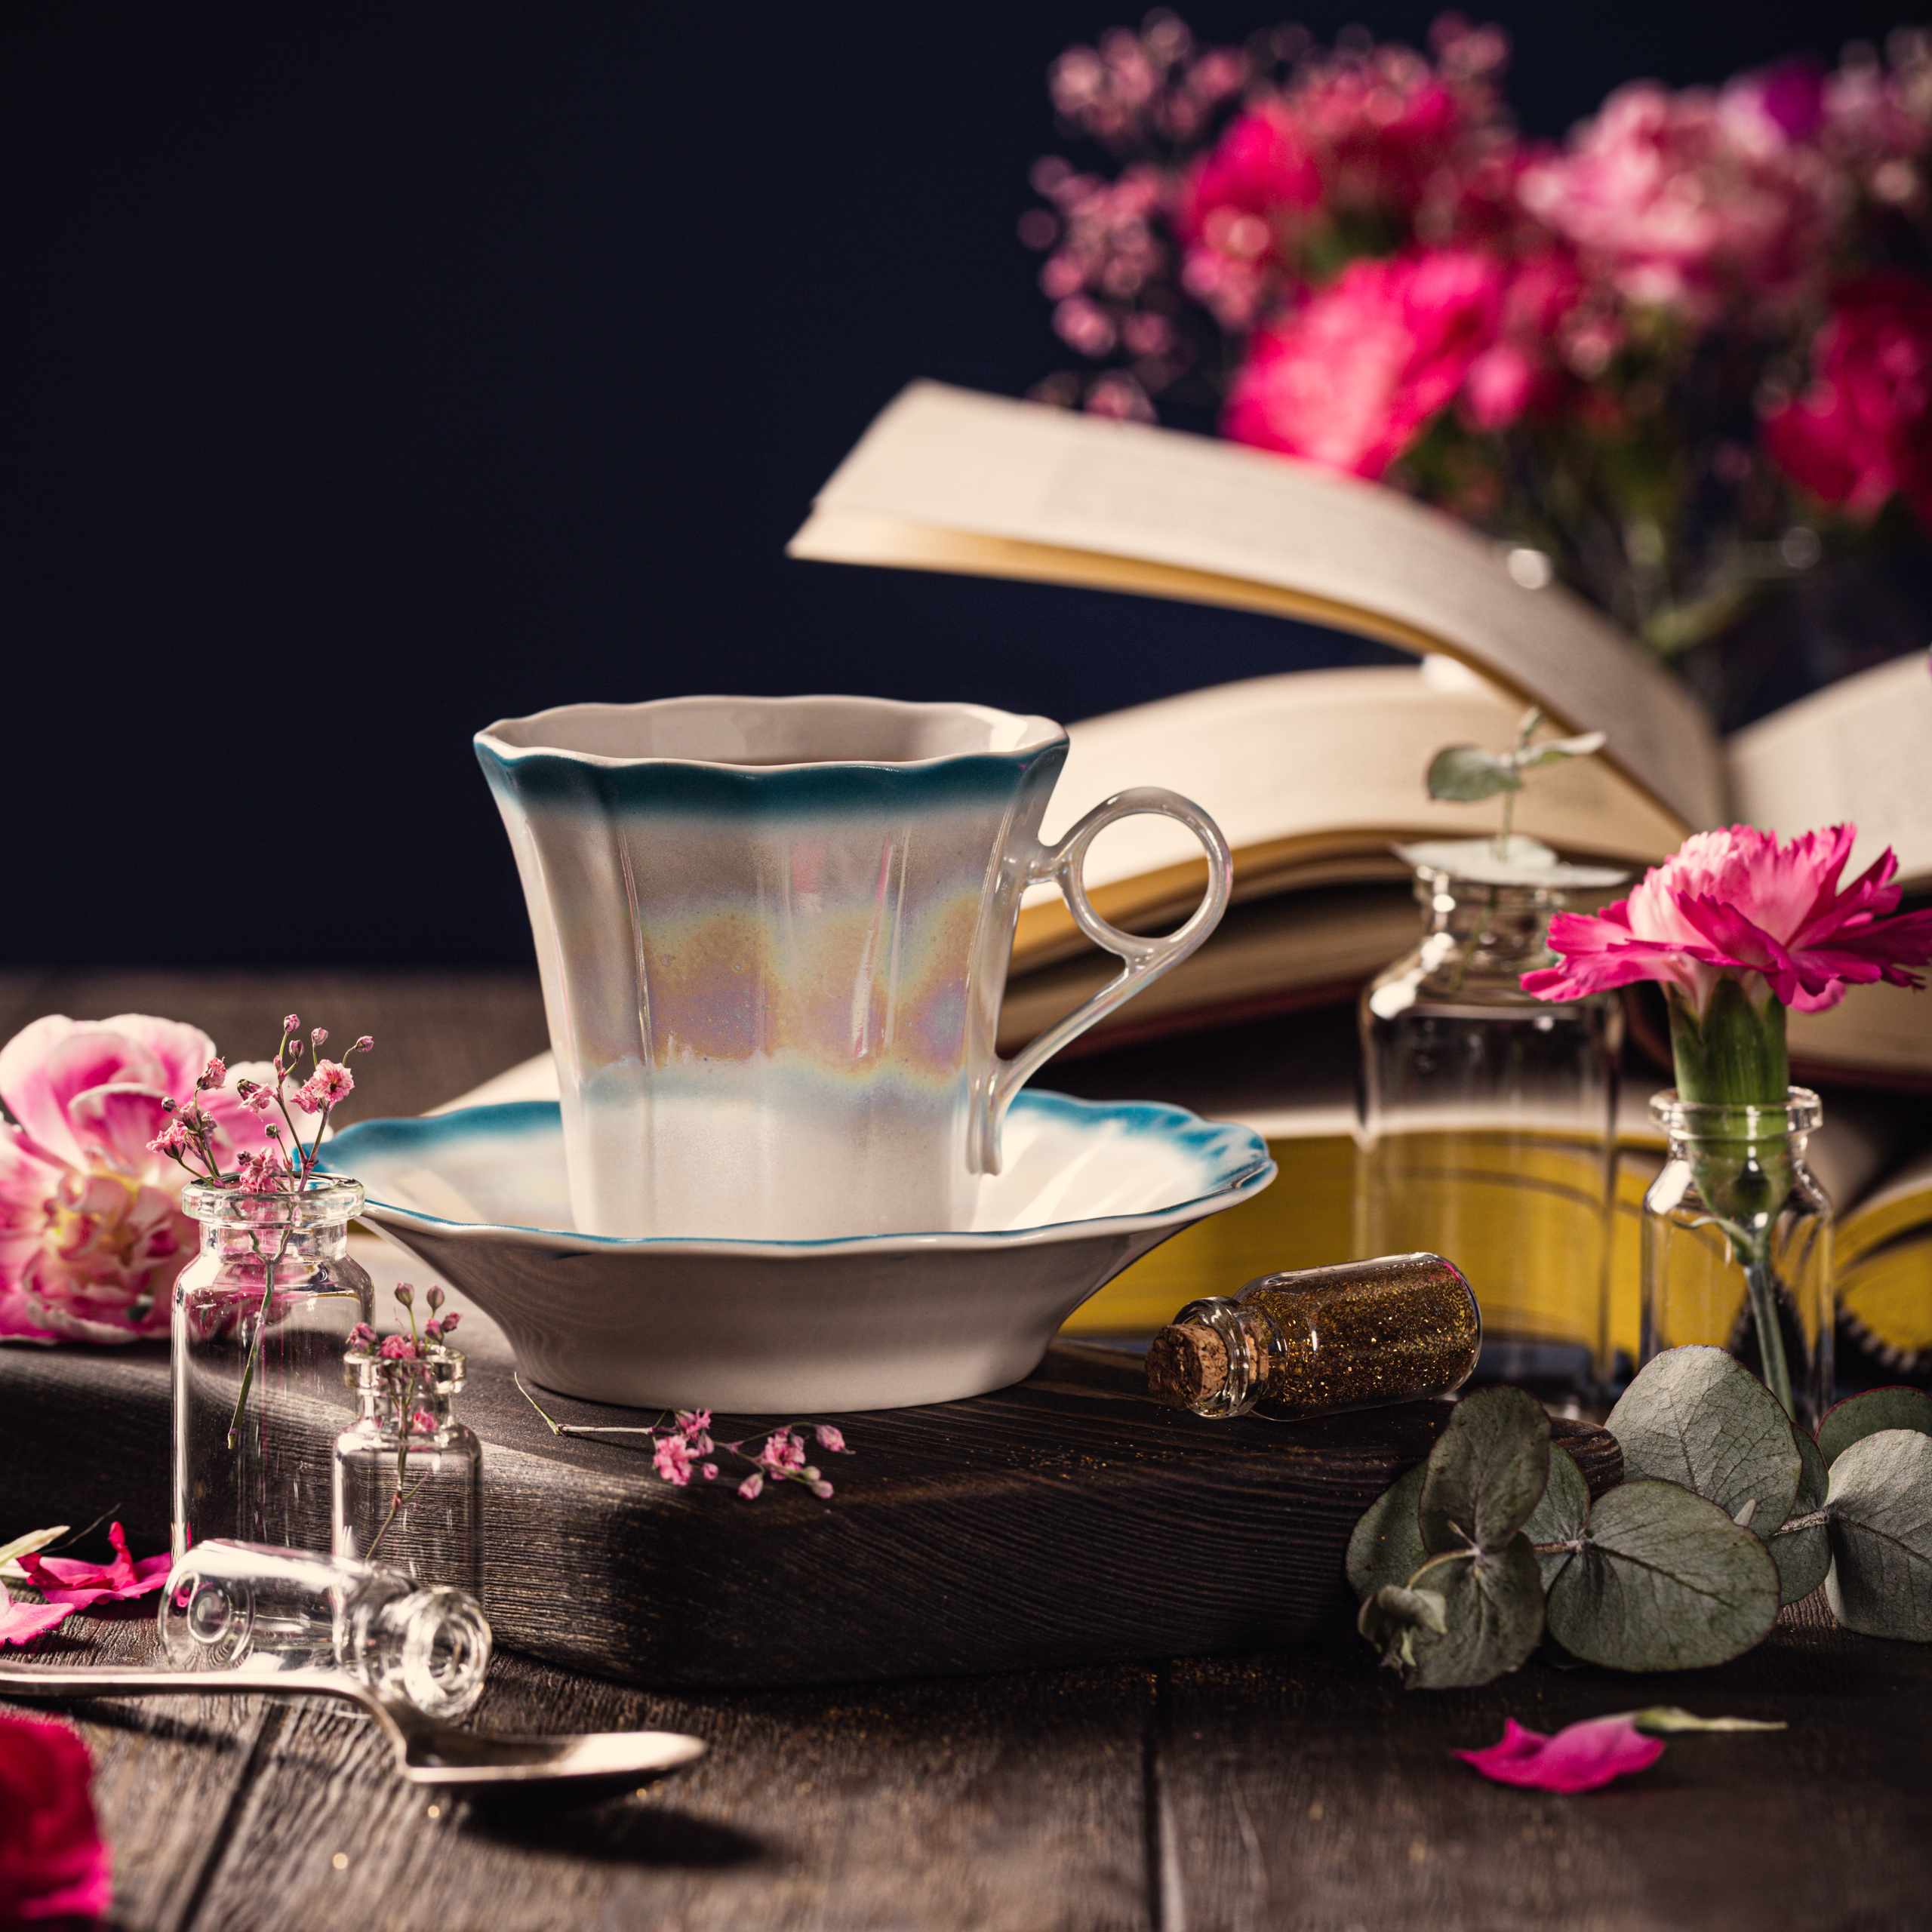
Compare The Fired Result
What Learners Notice In Practice
Small changes in moisture, thickness, drying, and glaze application become easier to recognize when each porcelain piece is observed from forming through firing.

Takeru Kanzaki
Comparing several small forms helped me see why one rim distorted while another stayed more even. Checking moisture and wall thickness gave me something specific to watch instead of guessing.

Akiyo Meguro
The test-tile approach made glaze practice much clearer. I could compare coat thickness and surface changes without putting every experiment onto a larger porcelain piece.