Observe The Material
Practice begins with noticing plasticity, moisture, wall thickness, and how the porcelain clay body responds while it is being formed.
Repeat Small Forms
Simple bowls, cylinders, joins, and test pieces make it easier to compare compression, thickness, drying behavior, and surface changes.
Read The Result
Cracks, warping, pinholing, and uneven glaze become useful clues when they are traced back to forming, drying, or application choices.
Practice One Variable At A Time
Instead of changing several things at once, the course approach uses repeated porcelain samples with one clear difference, such as moisture level, wall thickness, drying coverage, or glaze coat. This makes each result easier to compare and understand.
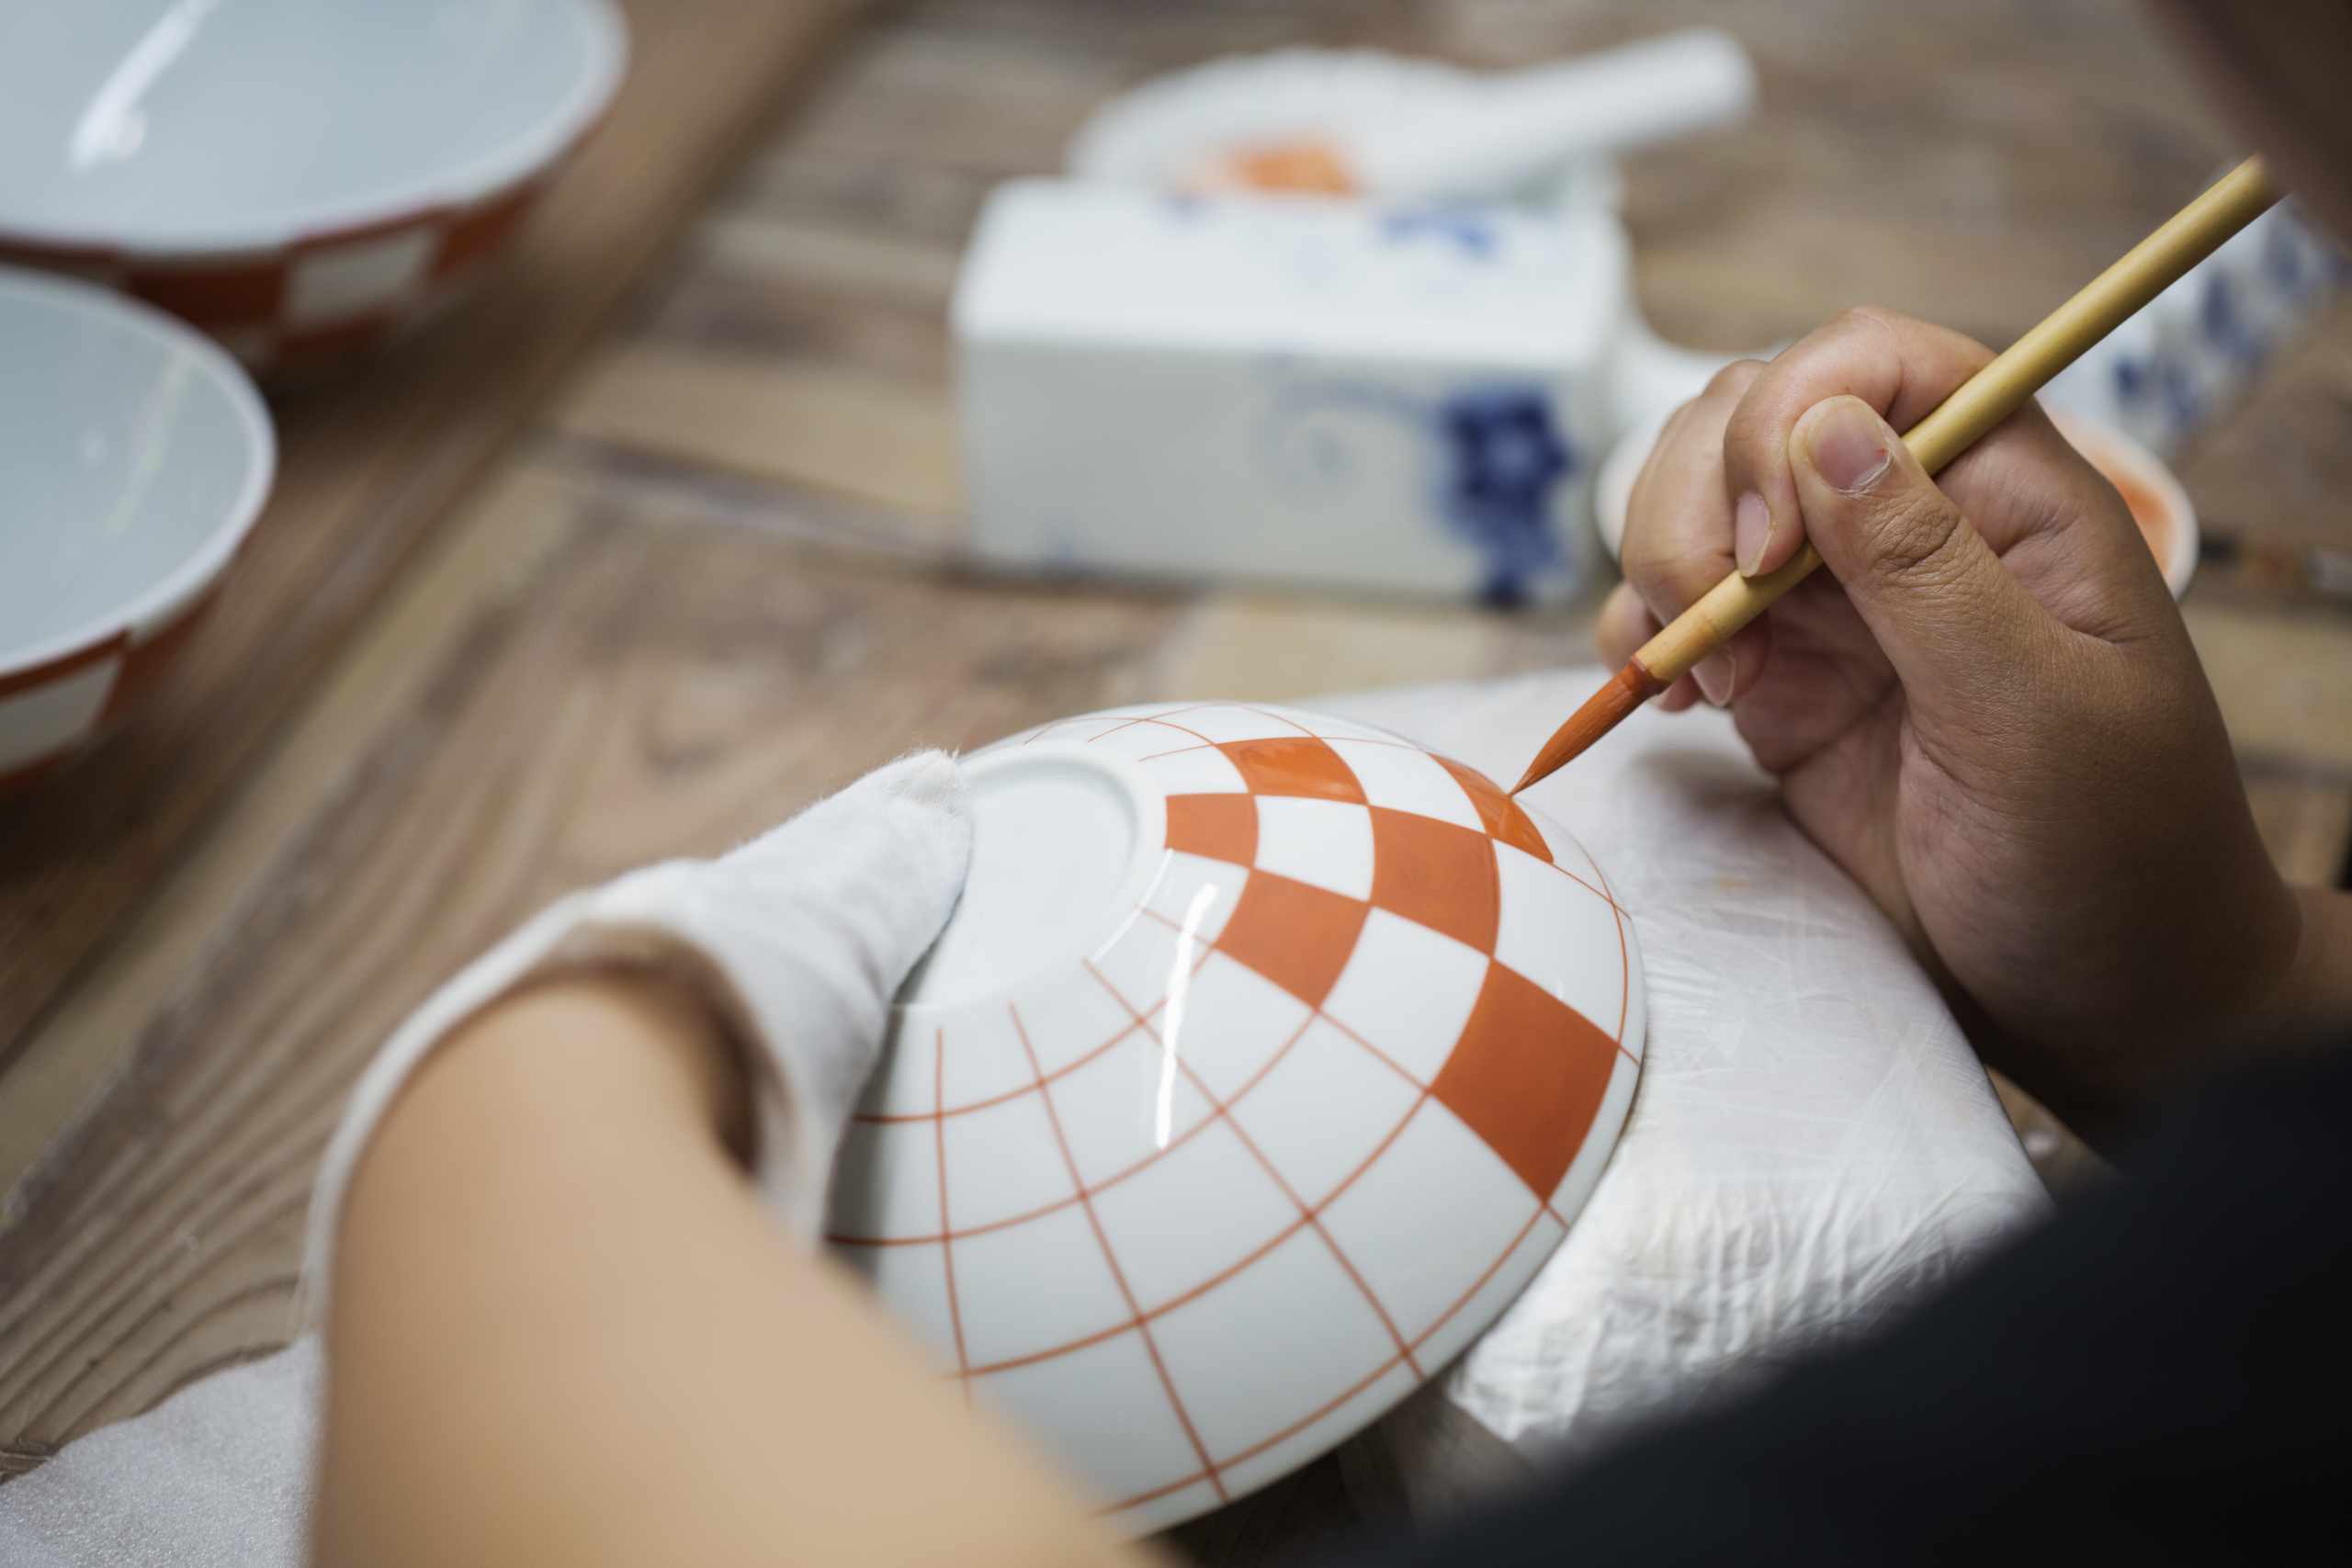
Build A More Reliable Making Sequence
Porcelain work is easier to understand when preparation, forming, joining, drying, trimming, glazing, and firing are treated as connected stages. A weak join or uneven wall can affect what happens much later, while careful moisture control and small test pieces make those relationships easier to see. The emphasis stays on observation, repetition, and practical checks rather than rushing toward a finished object.
Porcelain Notes And Guides
Explore practical explanations of wall thickness, leather-hard timing, drying, glaze tests, slip casting, firing stages, and visible porcelain defects.

Tips to Dry Porcelain More Uniformly Without Hurrying Thin Areas
It’s unusual for a porcelain item to dry uniformly from the top to the bottom. Thinner edges will usually…
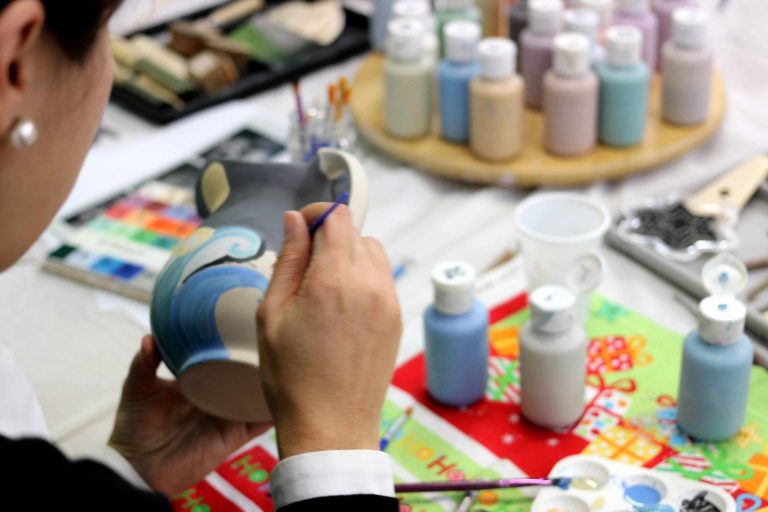
What Leather-Hard Porcelain Should Feel Like Before Trimming
Leather-hard porcelain has lost some of its moisture but not as much as bone dry clay. It is firm…
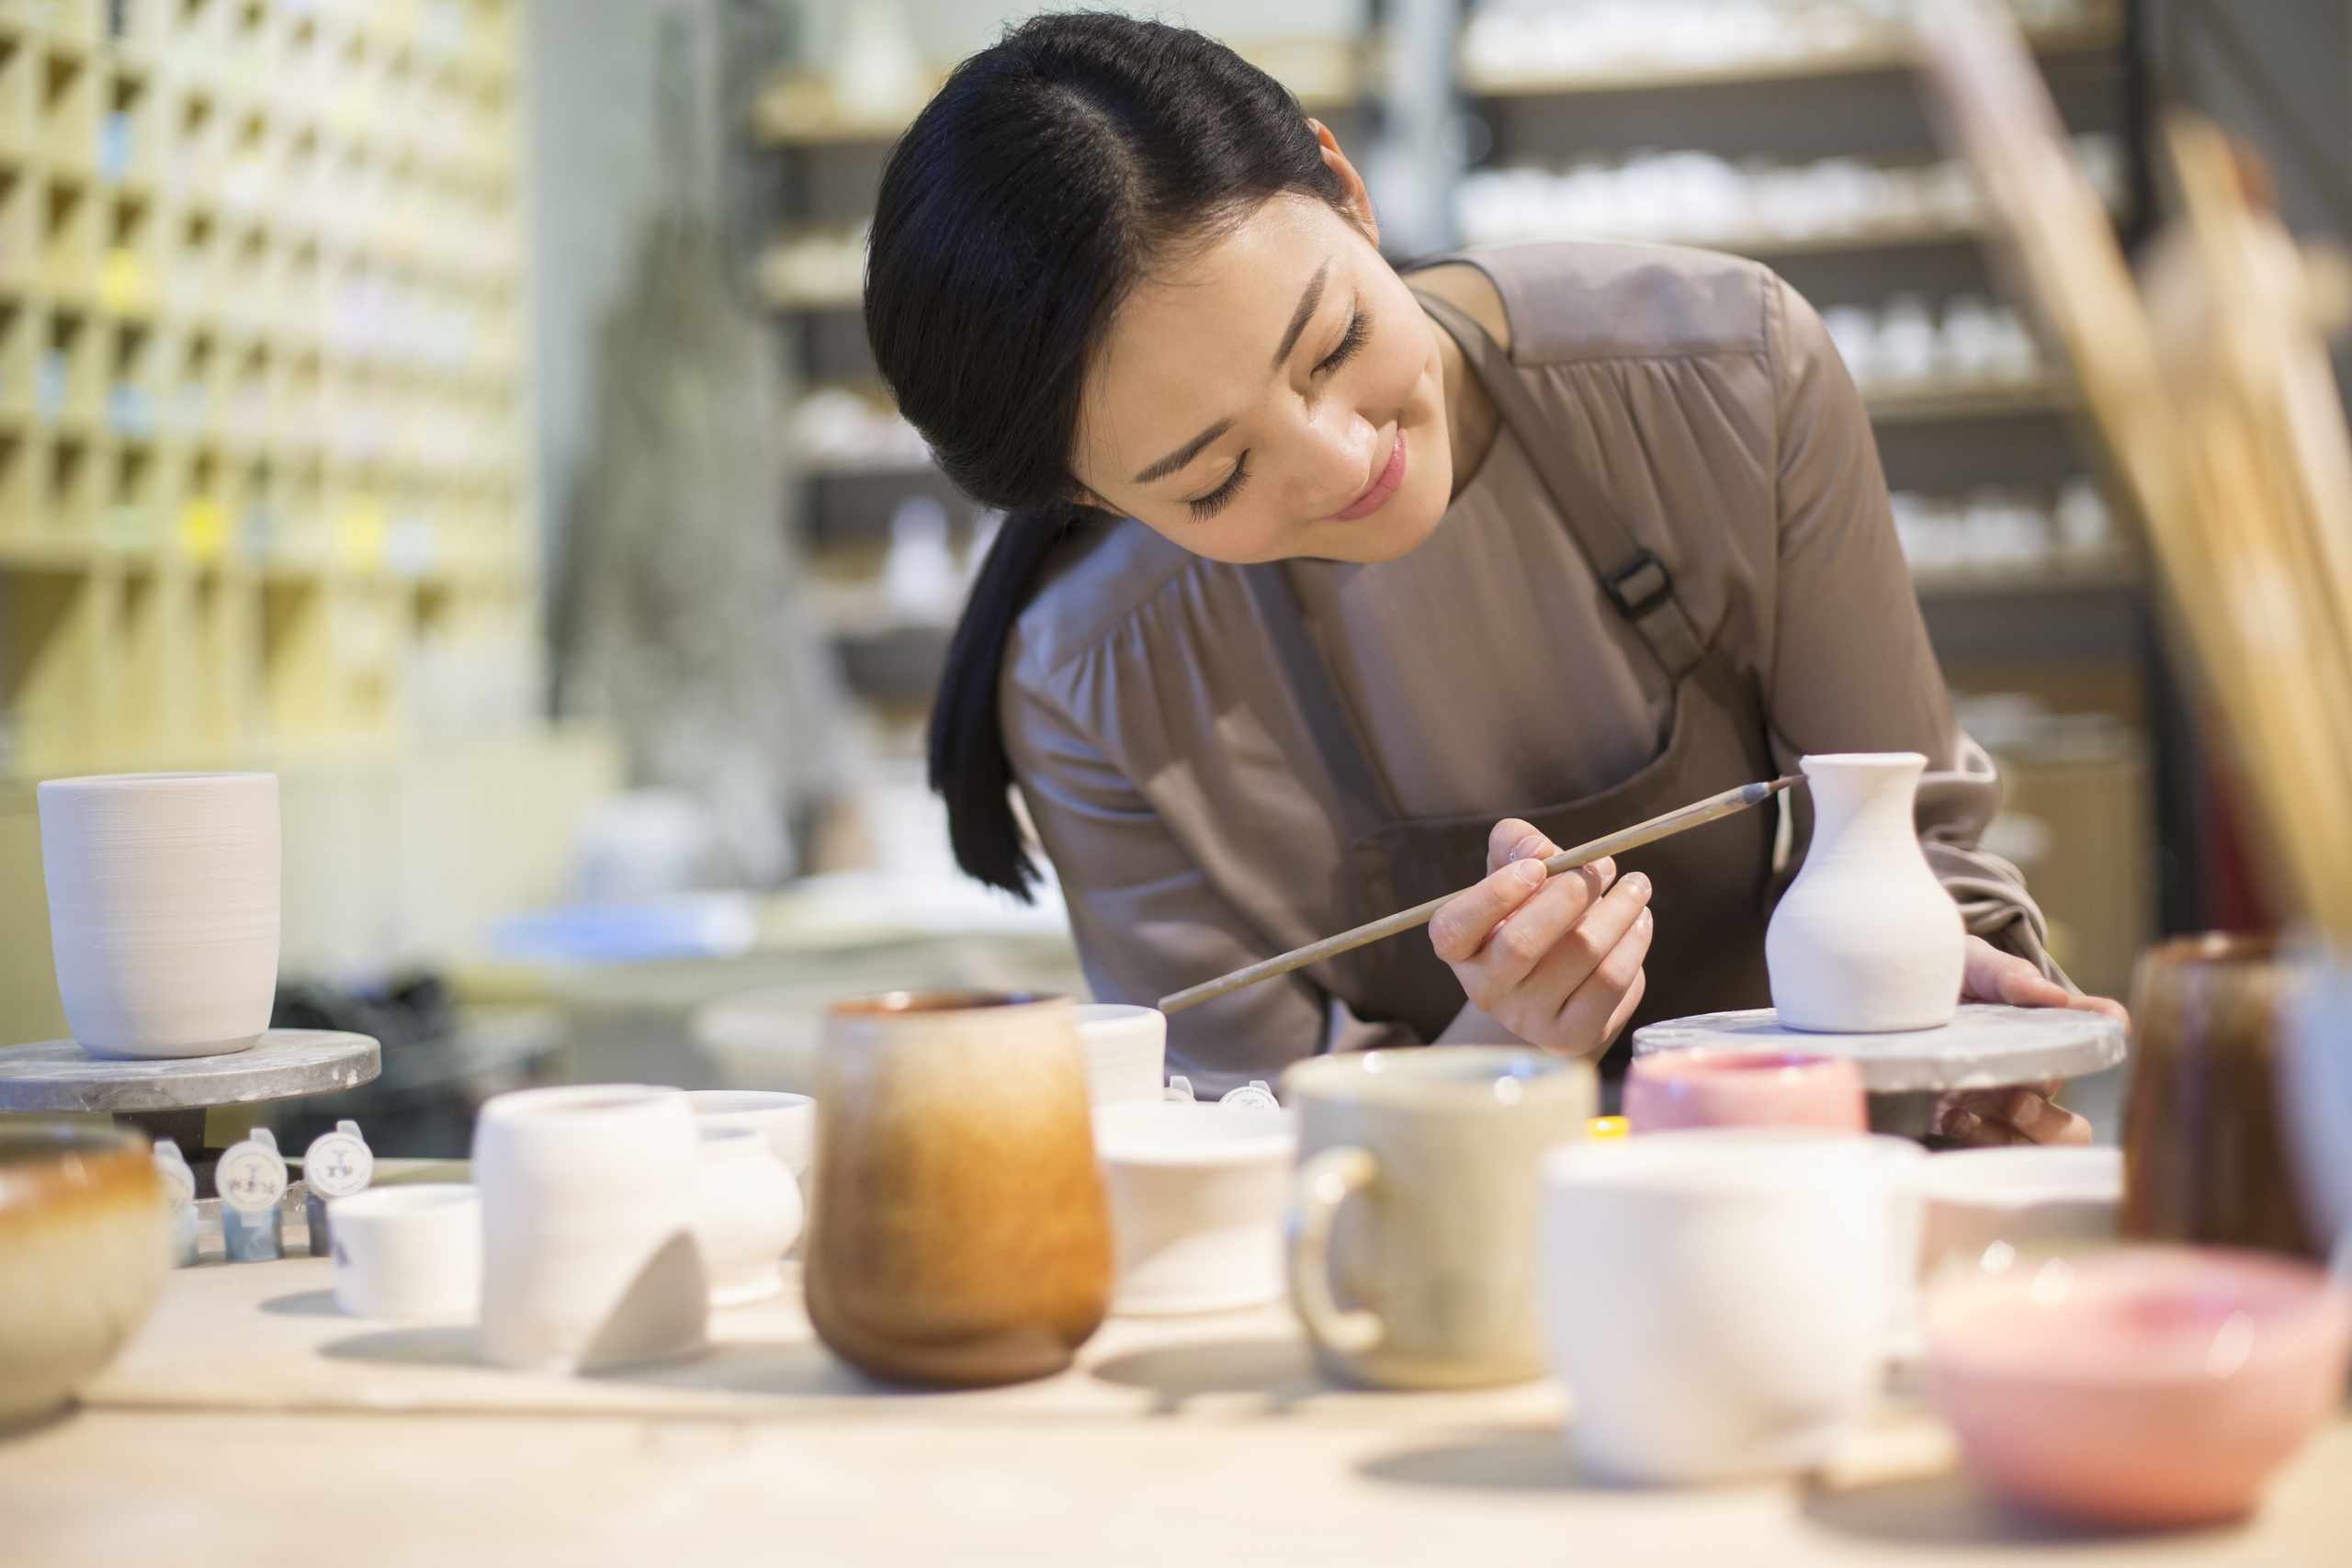
From Clay Condition To Fired Surface
The learning approach follows the porcelain piece through each stage, using small checks to connect material condition, forming decisions, drying behavior, and surface results.